Start Self-Hosting on a Budget
November 19, 2025•2 min read•37 views
How I built a functional home lab for learning and experimentation without breaking the bank.
Running a home lab has been one of the best investments in my technical education. Here's how I started affordably.
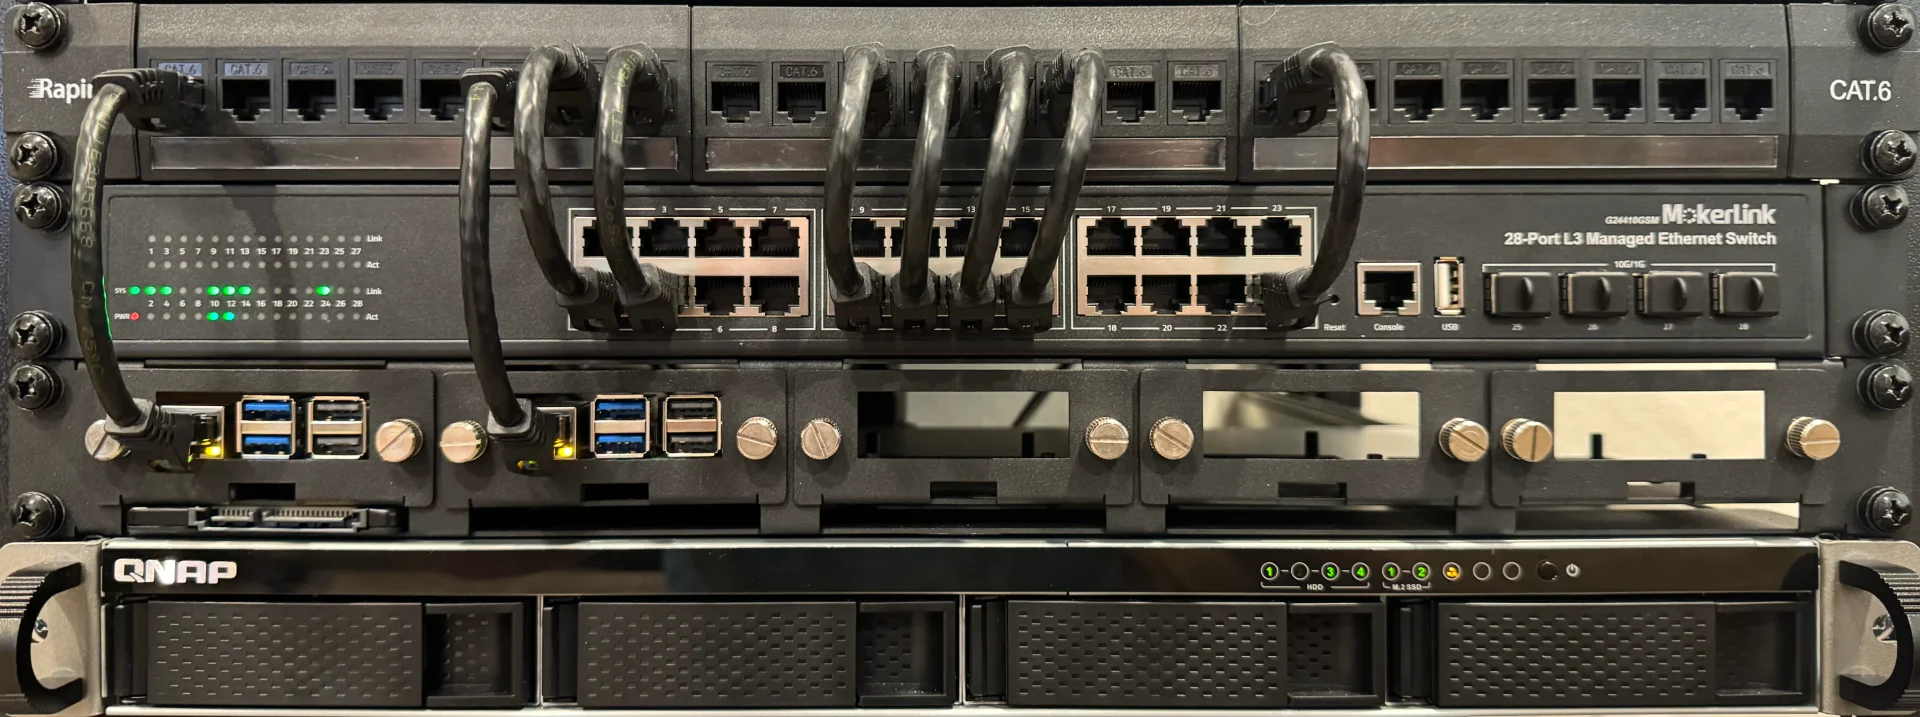
Hardware Choices
You don't need enterprise-grade equipment. I started with:
- An old desktop PC with 16GB RAM
- A Raspberry Pi 4 for low-power services
- A cheap 6 port managed switch for ethernet connections
- External hard drives for storage (hand-me-downs from a cousin)
Total cost: Under $300 (reusing what I had)
I've obviously upgraded since then, but you get the point
Software Stack
- Each
docker-compose.ymldefines related / dependent services. Mine are tracked in git - Tailscale facilities secure remote access via meshnet
Services I Run
Essential Services
- Pihole: Network-wide ad blocking
- Nginx Proxy Manager: Reverse proxy for all services
- Home Assistant: Smart home management for lighting automation and others
Media & Files
- Plex: Media server for old movies
- Paperless-NGX: Searchable document / PDF management
Monitoring
- Beszel: Ultra light-weight monitoring and metrics
- Uptime Kuma: Service availability monitoring
Lessons Learned
- Start small: Add services gradually
- Document everything: Future you will thank present you (Confluence is free for individual users)
- Security first: Use VPNs and proper authentication
Conclusion
A home lab doesn't have to be expensive or complicated. Start with what you have, then grow and upgrade as you learn.